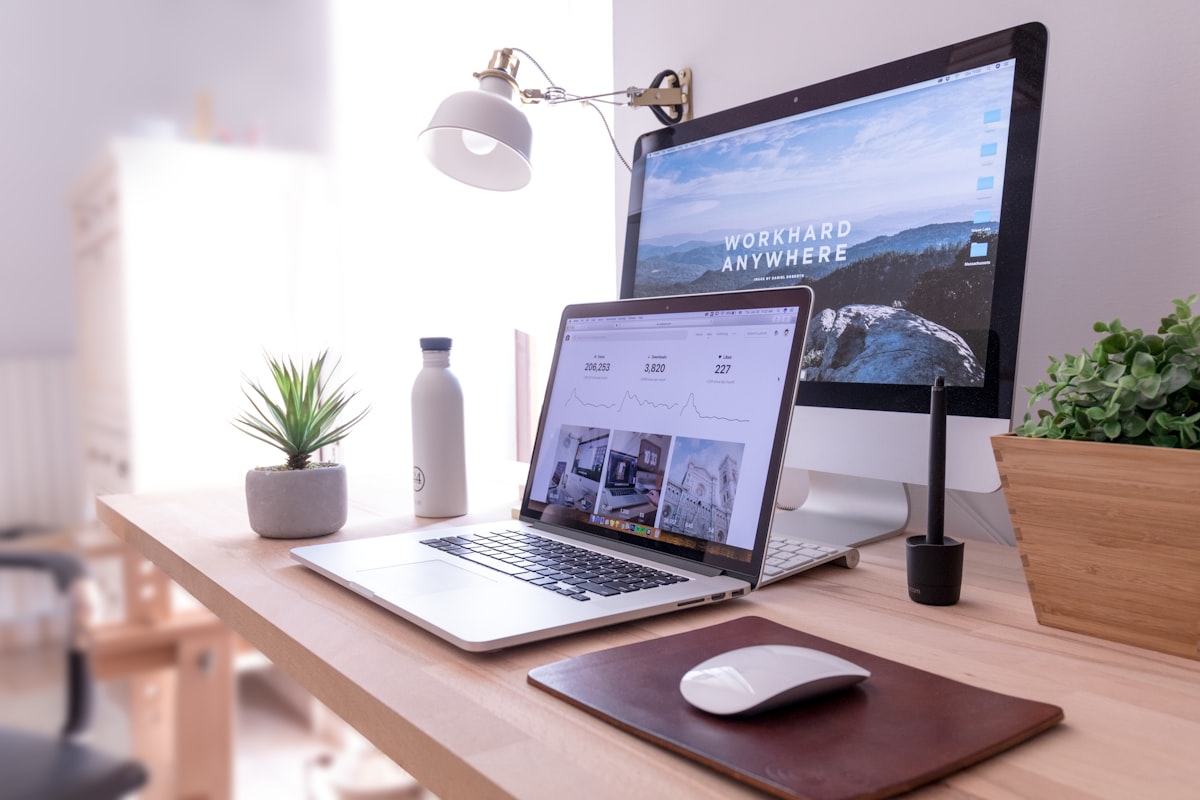
In this post, I’m going to share with you how I set up this WordPress website with GreenGeeks hosting, step-by-step, and some tips to make your site SEO-friendly.
Disclaimer: Some links in this post are affiliate links meaning if you decide to click on it and purchase, I may earn a commission.
Why I Created A New Website & Brand
Starting from scratch when you have prior experience and lessons from past mistakes is such an empowering feeling.
Throughout my vegan journey, I’ve changed my username on Instagram 3 times and created 2 websites.
I confess that I didn’t know what I was doing or where I was going at first.
With my naivete, I just went with the flow.
Start, then learn.
After many starts and mistakes, I now understand myself better and know what I want to do and where I want to go.
This website is a fresh start.
How To Build A Website Without Coding
Below are the steps I took to create this website.
Step 1: Draft A Plan & Direction
Before you do anything, have an objective. What is your website for? What do you hope to gain from it? How do you want it to look like? What do you want the content to be?
I was really intentional with this one because I knew what I hope to gain from it.
Whereas with the previous websites, I only wanted to blog my thoughts and put them out somewhere. I could’ve just used a free platform but I was bought by the idea of having my own domain and looking professional.
I do still care about those things. But I also wanted to provide value from my writing and potentially earn through affiliate marketing or selling digital products. I’m trying to avoid allowing ads on my site but we’ll see how it goes.
What you need:
You can just write your plan on a piece of paper or notebook. I used both a notepad to vomit out my ideas and then consolidate them on my Notion app.
How much time to spend:
For this step, you can take as short or long a time as you’d like. Just give yourself a solid deadline or a range of dates to work on it. I gave myself one month to plan and also draft some articles prior to buying a domain and creating a new website.
Step 2: Buy A Domain
Once you’re ready to create your website, you’ll first have to buy your domain.
A domain name is basically the URL address of your website. You can purchase it through your hosting provider (more on this in the next step). But I’d recommend buying a domain on a separate platform because it’s cheaper. They would give you a discount for the first year but may mark up the price for the following years. If you buy through the hosting platform, the following years’ price would usually be much higher.
Another thing to decide is what domain extension do you want. The cheapest or most economical would be .com because it’s been the standard domain since the birth of the internet. However, you can check out other domain extensions like .org, .io, or .xyz if it fits your brand.
I tried using .eco for my previous site but it’s too expensive to maintain for the following years. I did not plan properly in terms of creating a business that would grow in revenue. So I ended up with the basic .com that cost $8.16/year.
Where to buy a domain:
My preferred domain provider is Namecheap just because I was already used to it from the start. Some people use GoDaddy. But I’d say just choose whichever one you feel comfortable with and get on with it.

Step 3: Buy A Hosting Platform
A website hosting platform is a space on the internet for your site will be on. Think of it as a piece of land that you buy to build your house on. The land is the hosting platform and the house is your website. This is your own property. Unlike on free blogging platforms which are like rental apartments, you don’t share your house with anyone else.
There are many hosting platforms out there. You have to know what you want or what kind of “land” you’re looking for. How big of a space do you need? Do you want it to come with a security protocol (like an SSL)? Do you want it to be eco-friendly?
What features you need to look at:
Different people have different needs so you should know which features are most important to you. For me, I look at whether they offer free SSL certificate, complimentary backup and migration, and web space.
Which hosting platform to go for:
If you’re an eco-conscious person like I am and care about green energy, I’d highly suggest you opt for GreenGeeks. It is fast, secure, and eco-friendly. They match their energy usage 3 times in the form of renewable energy. And so that’s why they are a 300% green hosting platform.
Before discovering GreenGeeks, I used SiteGround for my previous websites for a few years. I had no issues with it but after comparing reviews, GreenGeeks seemed cheaper, greener, and offers more value. I never considered Bluehost even though it’s heavily marketed by other bloggers as it’s more expensive. Plus, the reviews said the service isn’t as great as SiteGround.
In terms of price for the first year, GreenGeeks is slightly cheaper at $2.49 a month compared to SiteGround at $3.99 a month for the same WordPress Hosting service.

Step 4: Direct DNS To Website
So after you’ve chosen your hosting platform, you need to direct your Domain Name System (DNS) to your hosting platform. This is like putting your name and address to your land that you’ve just bought as a sign of ownership. If you don’t direct the DNS to your website, people can’t find your website.
For GreenGeeks in particular, you’d need to do an extra small step and download the free SSL certificate. This is the security protocol to protect your website from malicious activity. With an SSL, you can see that there will be a lock key sign on the left end of the URL. This indicates that your website is safe.
Step 5: Choose Your WordPress Theme
Once you’ve installed or migrated your WordPress site to your new hosting platform, it’s time to make it look pretty. This is akin to designing the interior of your house so guests could feel comfortable. There are a lot of free themes offered by WordPress. If you’re okay with those you could just activate one and tweak the fonts and colours.
But if you have a certain design or look in mind when you were planning in the first step, you may have to buy a theme. For me, I bought one from Volthemes for $39 because I just love the base layout. I then customized it to suit my personal branding. If you have an even bigger budget, you could just hire a web designer.

Step 6: Plugins Are Your New BFFs
If you visit my GreenGeeks hosted site, you can see the progress bar at the top and an social feed gallery at the bottom. Those are enabled by downloading the respective plugins.
Plugins are basically software or an app that adds a specific feature to your site. This way, you can better customize your site to suit your needs. But make sure you don’t go crazy on the plugins because it may slow down your site if you download too many.
Some of the plugins you might find useful:
- Google Analytics for WordPress by MonsterInsights
- Advanced Editor Tools
- Easy Google Fonts
- Read Meter
- Yoast SEO
Step 7: Add Pages & Posts
Now all you need to do is add content to your site!
Before I even created my GreenGeeks hosted website, I already had some drafts written up. So when my website was created, I could just add them on the site. Of course, you’d need to repeat this step to add fresh content and boost SEO ranking (if that’s one of your goals).
Quick SEO Tips
Search Engine Optimization (SEO) is a process of writing your posts in a way that will boost traffic to your website and potentially be ranked on the first page of Google. The main purpose is to show Google that your website is important so that more people will find it when they search for specific keywords.
There are two kinds of SEO: on-page and off-page.
On-page SEO is basically optimizing individual pages and posts with specific keywords and relevant links. This is basically you doing the hard work of finding good keywords and putting them in the right places.
Where to find keywords:
Sites or chrome extensions like Ubersuggest, Keysearch, Keywords Everywhere, and Answer The Public.
Where to put keywords:
Title page/post, headings, slug (URL), meta description.
On WordPress, you can install the YoastSEO plugin to guide you with basic SEO practices.
Off-page SEO is optimizing your website externally, meaning taking actions outside your own website. You basically need to approach other sites so that they link your page on their site. This is called backlinking. The more backlinks to your website you have, the higher the ranking will be. This is a bit advanced and I personally have not done it because you’d need to really get into the SEO game. However, if you’re a big business this is worth investing your time into.
What I Think About GreenGeeks After One Month
I’m loving it! The dashboard is so user-friendly. I don’t even need to access the cPanel like one would’ve had to do in years past. You can easily access the WP Dashboard and Email Account information right on the dashboard. I like the Live Chat function so if you need any help you can ask one of the customer service representatives. I only used the chat once before purchasing GreenGeeks as I needed some more info. They answered my questions very well indeed and I was pleased with the customer service.
Enjoy The Process!
Creating a website can be stressful. But if you plan properly and decide what exactly you want, it can be enjoyable. This time around, because I set aside a good enough time to create my website, I was able to enjoy the process. And it doesn’t stop here. I’m going to continue enjoying the process of writing blog posts and giving out value to my readers.

